Companies and organizations around the world like to give challenge coins to their members as a way to commemorate special events. Each coin is a symbol of achievement, belonging, and camaraderie within the group. Because challenge coins mean so much to so many people, people often ask how they are made. The process of making a coin is relatively easy to understand if you know the steps. Here’s how to make challenge coins.
1. Design a custom challenge coin
Every challenge coin begins with a design process. With the development of high-performance computers and CNC machine tools, this process has become more automated. The design is first created in a computer-aided design (CAD) system. This allows the CNC machine to precisely cut the design into a piece of metal for use later in the process.
The design of the challenge coin is limited only by the capabilities of the manufacturer. There are many factors that can vary, including the coin’s size, material, finish, color, and shape. Best of all, special design features can be added as long as the computer understands what you want to do.
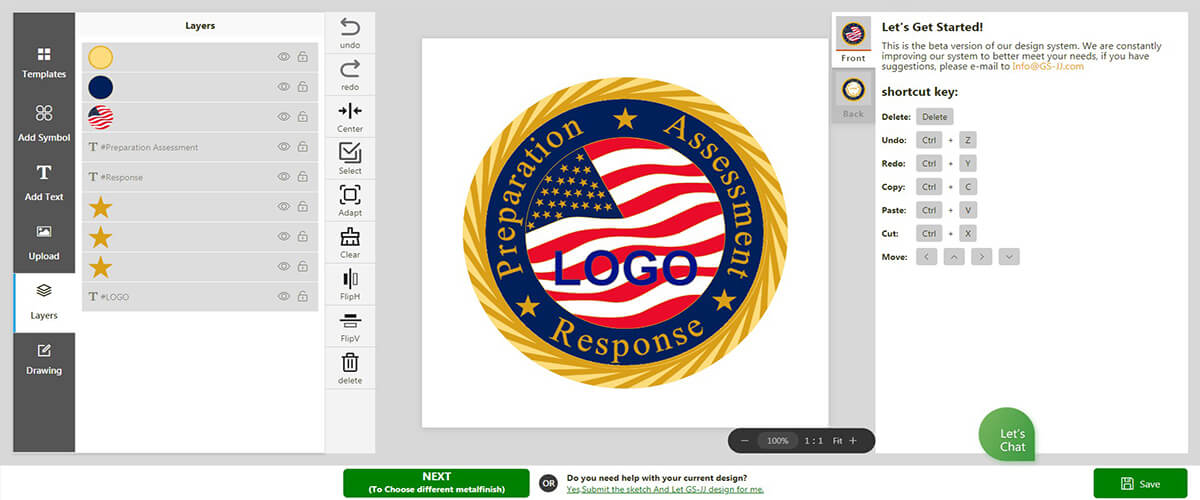
The following tips will help you design the perfect challenge coin:
- Keep the design simple: The challenge coins are small, so keep the design simple and easy to read. Stick to key elements, such as a logo, badge, or text, and avoid adding too much to the design.
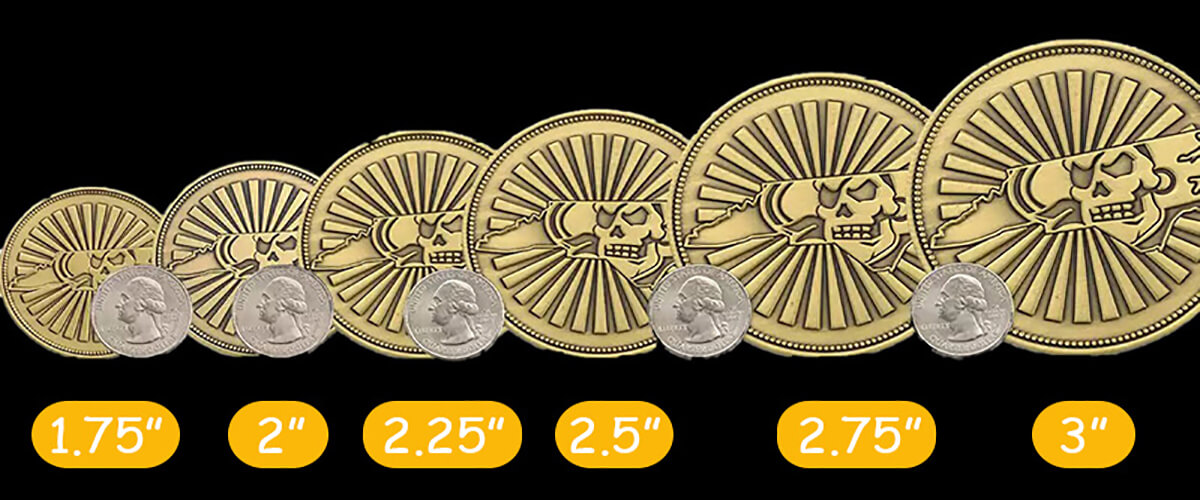
- Consider size: Challenge coins typically range from 1.25 to 3 inches in diameter, so make sure design elements are proportional and easy to see. When drawing a design, draw it to scale; this avoids any issues regarding size.
- Choose meaningful symbols: If the challenge coin is being designed for a specific organization, consider using a meaningful symbol for that group. This can be a badge, flag, emblem, or other custom artwork.
- Use contrasting colors: Use contrasting colors to make the design elements on your custom coins stand out and be easy to read.
- Sketch multiple designs: Before you confirm that the design you choose will fit and look good on the challenge coin, make adjustments if you must Don’t feel frustrated. For example, sometimes a design looks good on paper or a screen but isn’t suitable for printing on a coin.
- Make it unique: Your challenge coin should be unique to your organization, so choose a design that reflects your team’s mission, values, or history.
- Ask a Professional: If you need help, consider consulting a professional designer.
2. Milling
Once the design is created in the CAD system, it is transferred to the CNC machine and broken down into cutting instructions. This CNC machine is capable of cutting solid metal into unique shapes. It cuts the negative image of your design into a large piece of metal called a mold or die. This essentially takes your design and cuts out the space around parts of the design. As a result, it can be used to press an exact copy of your design into another metal piece.
Each coin requires two dies, one for the obverse and one for the reverse. These molds are usually made of very hard metal (like steel) and can withstand a lot of pressure without bending or breaking your design. No matter how many coins you order, only one set of molds is needed to complete a production line.
3. Mold knocking
Once the die or die set is completed, the next step is to begin manufacturing the coins. Press the coin blank with a die set to imprint your design on both sides. This is called stamping and requires a very large machine to apply enough pressure to reshape the coin. A skilled operator can complete this part relatively quickly, depending on the number of coins you order.
Throughout the process, the coins are inspected to ensure that the pattern is correctly imprinted. Any defective coins are either repaired or removed from production and replaced with new copies.
4. Edging
The edges of the coins can have their own unique design. There are many options you can choose from, and the way they are made depends on the option you choose. Some of the options are:
- Rope (mold stuck)
- Chain (mold stuck)
- Thorn (mold stuck)
- Flat (mold stuck)
- Customized edges (chip stuck)
- Bevel (machine cut)
- Sector (machine cut)
- Bevel cutting (machine cutting)
- Cross-cut (machine cut)
- Reed (machine cutting)
Edge design is largely a matter of personal preference. Each option has its own characteristics that complement the other parts of the coin. When you’re looking for ways to enhance your coin’s design, you’ll want to consider upgrades.
5. Polishing
Stamped and cut metals can have many sharp edges and burrs. The burrs need to be removed before the process can continue. There are several ways to do this, including doing it manually. However, there are several machines that can automate this process.
After the polishing process is complete, each coin is inspected for imperfections. At this time, it may be possible to correct any defects found. However, quality inspectors are very focused on ensuring that each finished coin is of top quality. It is not uncommon for them to remove coins with very minor flaws from production.
6. Electroplating
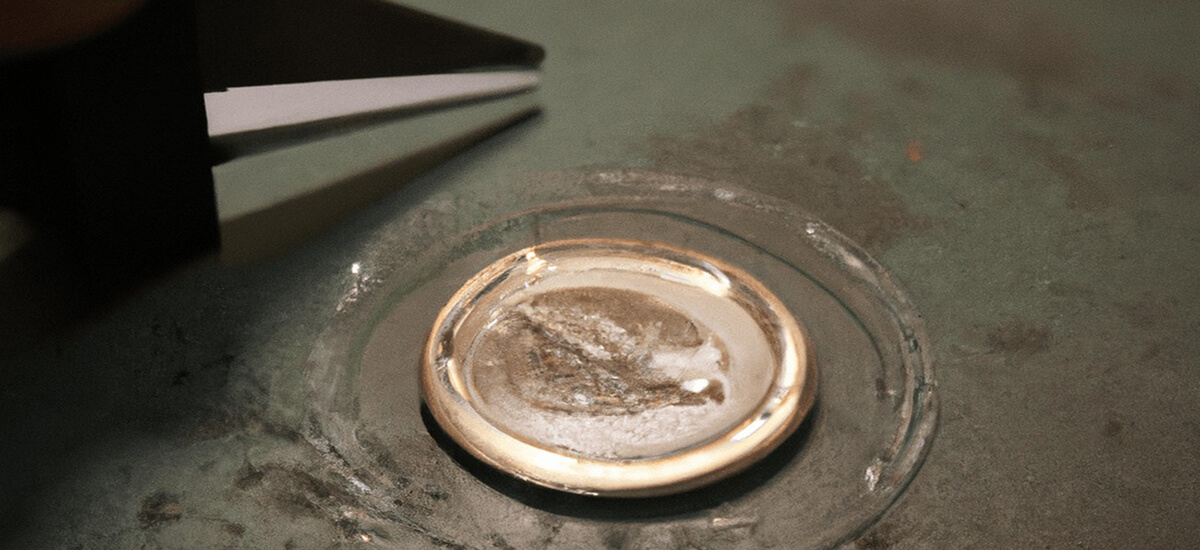
Plating is the process of coating coins with different materials. Coins made of precious metals, including gold or silver, are not entirely made of these materials. This would make each coin very expensive. Instead, they are made from more common materials such as copper, zinc, and iron. Then, a layer of gold or silver is attached to the surface of the coin. The process uses a series of chemicals to clean the coin and help transfer the plating material to its surface.
Here’s a quick overview of your challenge coin plating options:
- Gold Plating: To create a warm tone, a layer of gold is applied to the custom challenge coin.
- Silver Plating: A layer of silver is applied to the surface, giving it a classic coin appearance. This is a popular choice for creating a stylish, modern-looking challenge coin.
- Antique Plating: This method creates a vintage look by adding a layer of antique metal to the surface of the coin.
- Bronze-plated: This method is popular for creating challenge coins that have warm, earthy tones, but are not made from solid bronze. The bronze plating gives the coin an old-fashioned feel.
- Nickel Plated: This option is popular for creating challenge coins that have a bright silvery tone while looking slightly different than silver plating.
Overall, color and plating are important steps in creating a custom challenge coin as they add to the overall look and feel. The right combination of colors and plating can enhance a challenging coin’s design and make it truly unique.
1) Why electroplating is important
Some may view the challenging coin-plating process as an unnecessary step. However, there are a few reasons why you shouldn’t skip it.
- Aesthetics: Plating a coin with a precious metal, such as gold or silver, can give the coin a more premium look and feel, making it a valuable collectible or recognized symbol.
- Durability: The plating acts as a protective layer on the coin, protecting it from damage caused by daily wear and tear. This helps preserve the appearance of the coin over time and maintain its new appearance.
- Protection: Plating helps protect coins from discoloration and other forms of corrosion that can damage the surface of a coin over time.
- Cost Effectiveness: As mentioned before, plating a thin layer of metal on a challenge coin is much cheaper than using precious metals on the entire coin. This makes plating cost-effective and allows for a premium look and feel without sacrificing quality.
- Versatility: There are a variety of plating options available, each with its own unique look and feel. This allows for greater flexibility in the design process as you can choose the type of plating that best suits your design and budget.
2) Can coins be double-plated?
Absolutely! Double plating allows the creation of challenge coins with two different metal finishes, adding depth and visual interest to the design.
For example, challenge coins can be double-plated with a brass base and a silver outer layer, giving it a unique look that blends the warm tones of brass with the shine of silver.

7. Metal texture
An optional step is the texturing of the metal. Not all coins are made perfectly smooth and shiny. Look at the change in your pocket. Some coins have multiple textures that can make specific elements stand out from the rest of the design.
These are completed at different stages of the challenge coin production process, depending on the desired finish.
- Satin: With a satin finish, the challenge coin looks sleek and modern with a matte, non-reflective appearance. This surface treatment is achieved through a low-polishing process, giving the coin a smooth and even surface.
- Antique: The antique finish gives the coin a vintage, aged appearance, giving it personality and character. This finish is created by applying a dark patina to the surface of the coin, resulting in a unique and timeless look.
- Sandblasting: The sandblasting process gives the coin a rough and textured appearance, making it appear sturdy and durable. This finish is achieved by sandblasting the surface of the coin with sand or other abrasives, creating a unique and unique appearance.
8. Color the coins
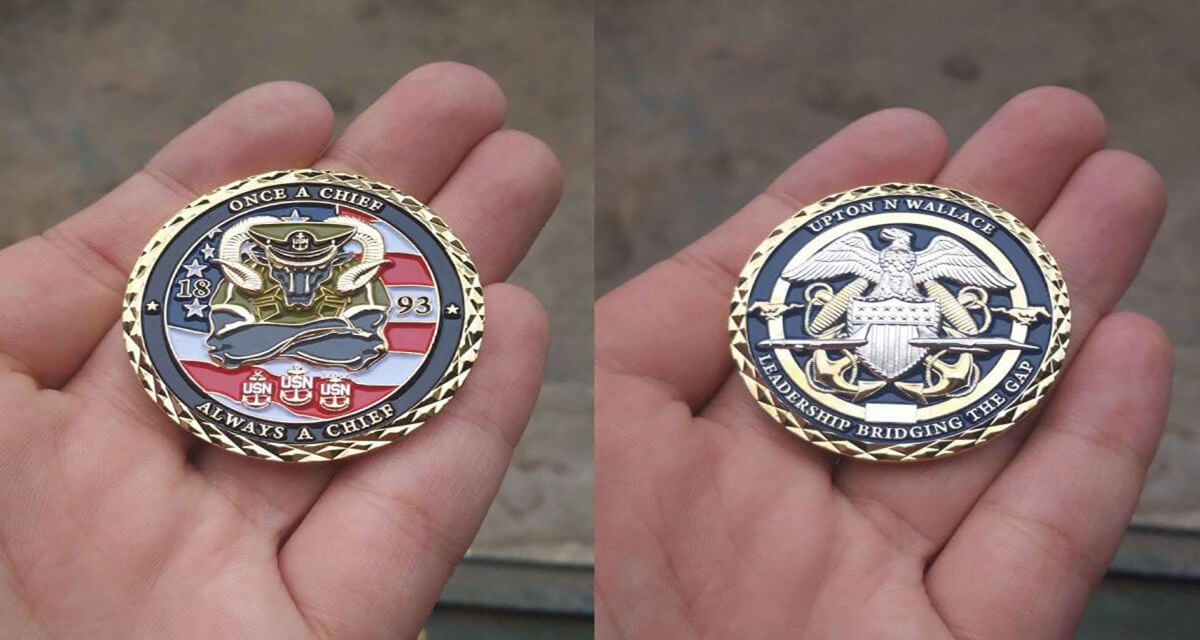
A cool addition to any challenge coin is to add color. While not required, it adds depth to the image and provides a unique look to an otherwise bland metal coin. Depending on the desired look, the metal, or the depth of the image, a few different options are available.
- Hard Enamel: This is the process of applying a layer of enamel paint to the surface of a coin and then baking it to harden it. The result is a smooth, durable, vibrant color that won’t fade or peel over time.
- Soft Enamel: This is where enamel paint is applied to the recessed areas of the coin, giving it texture. The enamel is then baked to harden, creating a long-lasting, vibrant color.
- Pad printing: This is a printing process that transfers ink from a silicone pad to the surface of a coin. The ink is then baked onto the coin, creating a permanent color.
9. Laser engraving
If the design requires it, another step is the laser engraving process. Lasers are used to etch intricate designs on challenge coins that may not have transferred during the stamping process. It is often used to add text and other fine details.
The laser can also add custom text to the edge of the coin, enhancing the look of your custom challenge coin. This step is usually done after plating because the laser does not damage the added metal.
10. Finishing
Finishing typically occurs in multiple parts of the process. A finishing process is used before or during the polishing process. Several methods can be used to accomplish this, including:
- Sandblasting (carried out before the polishing process)
- Flat/matt finishing (carried out before the polishing process)
- Brushing (carried out before the polishing process)
- Polishing (occurs during polishing)
This allows different parts of the coin to have different finishes because they were finished at different times. For example, a coin can have flat areas flattened before being polished, giving it a matte appearance. The raised edges can then be polished to a shiny finish. The combination of these finishes creates a contrast between edges and other surfaces, resulting in a more detailed design.
During the electroplating process, the surface effect can also be changed by selecting different materials. Gold and silver are common choices, but they’re not the only ones available. While still maintaining a metallic finish, this creates a greater contrast between colors.

11. Complete challenge coins
After the other steps are completed, it’s time to complete the coin. We inspect the coins thoroughly to ensure that the image is clear, the edges are smooth or cut to the required design, and the colors are vibrant. Once the inspection is complete, we add a layer to further protect the coin. This is not mandatory as the coating will cover some of the texture added to the coin.
1) Epoxy resin
Epoxy coating is a transparent protective layer applied to the surface of a coin. Besides protecting the coin from scratches, fading, and other damage, this coating also gives it a high-gloss finish.
2) Transparent resin
Another protective layer we can apply to challenge coins is clear resin coating. This coating gives the challenge coin a smooth, sleek appearance while protecting it from scratches and other damage.
3) High gloss paint
A high-gloss paint coating gives the custom challenge coin a shiny and reflective appearance while protecting it from damage.
12. Final inspection and packaging
Finally comes the final inspection and packaging of the custom challenge coins. Once the custom challenge coin is completed, the challenge coin manufacturer will perform a quality control inspection on the challenge coin. These inspections ensure that each coin is perfect, meets your specifications, and has no defects. Any custom coins that fail quality control inspections will be rejected and returned for restoration or reminting.
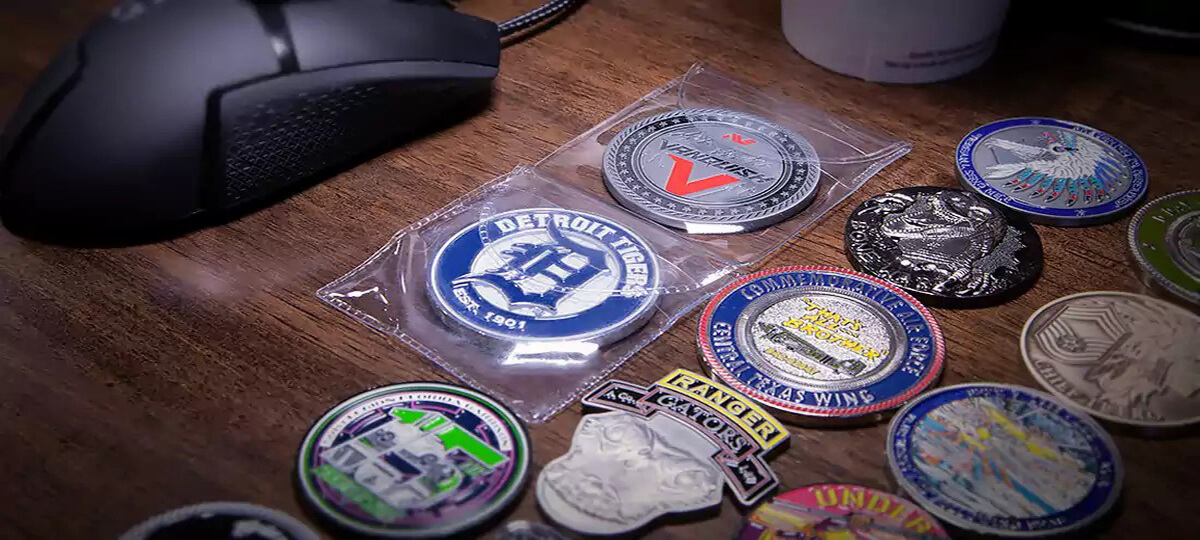
After quality control is completed, the coins will be packaged for shipping. Challenge coin packaging ranges from simple plastic bags or small leather bags to more elaborate packaging options such as custom coin display cases. However, it all comes down to personal preference and your budget. The packaging is designed to protect the metal coin from damage and display it in the best possible way.
13. Conclusion
If you want a unique, customized challenge coin, the above steps can help you design it. I hope this article can help you gain something.